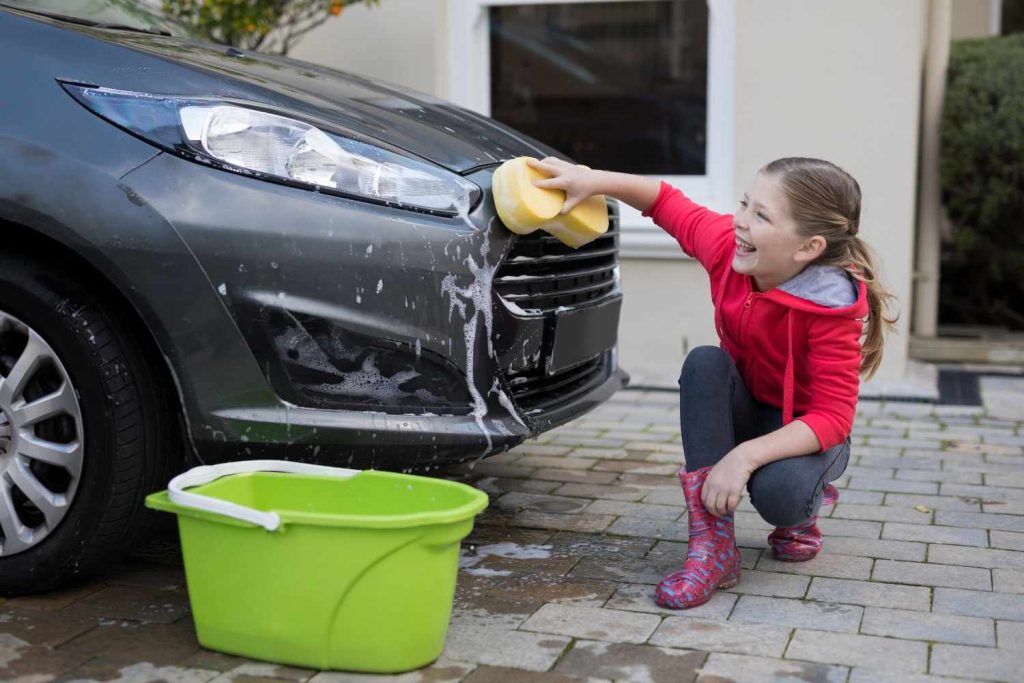
How to Wash a Car at Home Safely? A Step-by-Step Beginner’s Guide
Frequent, proper car washing helps in preserving paint, corrosion and resale value. A safe at-home wash program reduces the swirls and paint loss whilst preserving the look and protective coating of the vehicle. This guide offers a step-by-step teaching approach, the tools required, and useful tricks for effective and damage-free washing.
Understanding Home Car Washing
Washing a car at home properly will eliminate dirt, contaminants and road deposits and leave behind clearcoat and protective layers (wax, sealant, or ceramic). It uses paint-safe materials, proper methods such as the two-bucket rule and top-to-bottom rule of washing, and proper drying to prevent water spots and micro-scratches.
Importance of Correct Technique
Swirl marks and strip protective coatings may be caused by improper washing (household detergents, circular scrubbing, or even a single dirty mitt). The right routine will prolong the life of the paint, lessen correctional polishing, and will also maintain the vehicle to appear well-maintained.
Key Components of a Home Car Wash
Tools & Supplies
- Two 5-gallon buckets (wash + rinse) with grit guards.
- car shampoo (biodegradable preferred) pH balanced.
- Several microfiber wash mitts and drying towels (waffle-weave is preferable).
- Shut-off nozzle hose or the low-pressure hose.
- Wheel brush, soft detailing brushes and wheel cleaner.
- Lubricant (to decontaminate) and clay bar or clay mitt.
- Optional: car dryer/air blower and protective products (wax, sealant, ceramic topper)
Preparation: Location & Initial Checks
- Park in shade on a cool, level surface to prevent soap from drying on warm paint.
- Close windows, lock the fuel cap, retract antennas, and remove loose debris.
- Inspect paint for tar, bird droppings, or sap, and treat contaminants before washing.

Step‑by‑Step Wash Method
1. Pre‑Rinse: Loosen and Remove Loose Dirt
Wash the vehicle all the way to the top with a light stream in order to get loose grit. This reduces the risks of the abrasive particles being drawn over the paint in the washing process.
2. Wheels First
Clean with wheel cleaner and clean with a special scrubbing brush. Rinse thoroughly. Apply another mitt or brush on wheels and tires to prevent cross-contamination of body paint.
3. The Two‑Bucket Method
- Bucket A: Shampoo mixed with clean water. Bucket B: clean rinse water.
- Put grit guards on both buckets. For every panel, rinse the wash mitt in Bucket B, and then refill Bucket A with shampoo.
This technique helps avoid the reintroduction of abrasive particles onto the paint and also greatly lowers the possibility of swirl marks.
4. Washing Order: Top → Bottom
Make work in 2-3 ft sections: roof first, then windows first, then hood first, then trunk first, then sides first, then bottom first. Use straight, overlapping strokes instead of circular motions to reduce micro-marring.
5. Rinse & Inspect
Rinse and clean up individually to prevent the use of soap. After this, wipe a clean hand (or microfiber) across the paint to detect any of the remaining roughness that may require claying.
6. Clay Bar / Decontamination (Optional)
In the instance where there is a gritty surface on the paint, a lubricated clay bar or clay mitt should be used to apply and remove the contaminants attached. This is a coating that improves gloss and puts the surface in a state of protection.
7. Drying: Prevent Water Spots
Wipe the vehicle immediately, either with clean waffle-weave microfiber towels or an air blower. Drag and pat; change wet or dirty towels. Drying it will eliminate water spots and additional micro-marring.
8. Protect: Wax, Sealant, or Ceramic Coating
Apply a protective layer, depending on the desired time span: paste wax will give a temporary gloss effect, synthetic sealant will be longer lasting, and a ceramic topper will protect against hydrophobic effects longer. Protection saves on future washing and increases the surface gloss.
Interior Quick Clean (Essential Steps)
- Clean with a vacuum cleaner carpets, seats and crevices.
- Wipe off hard surfaces using a damp microfiber and phosphate-free interior cleaner.
- Condition leather having a specific product.
- Use an ammonia-free glass cleaner and a microfiber towel to clean the glass.
The interior is clean and complements the exterior that has just been washed, and enhances comfort and resale value.
Eco‑Friendly & Water‑Saving Recommendations
- Turn off the water all the ways and stop in between.
- Possibly, waterless or rinseless wash products can be considered in the case of light-soiled cars.
- Select phosphate-free, biodegradable shampoos to save the environment.
Such methods save on water and minimize destructive runoff.
Common Mistakes to Avoid
- Taking household detergents, washing off the wax, and protection.
- Washing in the sun or on hot surfaces.
- Welding the same mitt on the wheels and the body panels.
- Straight strokes instead of circular scrubbing would be less likely to form swirls.
FAQs
1: How often should a vehicle be washed?
In normal driving circumstances, always wash once or twice a week. Frequency should be increased in winter (road salt), coastal (salt air), or following contact with mud and gravel to inhibit corrosion and abrasive buildup.
2: Are pressure washers safe for car washing?
The pressure washers are safe to work with a large fan nozzle and a minimum distance of 12-18 inches between the paint and the pressure washer. They work well in rinsing and cleaning the wheels; however, when used improperly, they can cause water to force its way into the trim or can destroy the softer parts. In a hose, a shut-off nozzle is a low-risk solution for those who are new to this.
Protect & Preserve
Adopting a correct, repeatable at-home wash routine maintains the quality of paint, avoids damage and minimizes maintenance costs in the long term. Washing, top down, drying appropriately using the two bucket system, plus applying protective products, improves the look of the vehicle, extending the finish of the vehicle.
