Can You Remove Swirl Marks and Light Scratches in Minutes?
When you clean your car, you feel that you will have it shining in the reflections but you discover that the swirl marks and vehicle scratches are taking the centre stage. The fact is that to almost eliminate most of these blemishes of the surface, not a machine and other costly compounds are necessary, nor a day of detailing. This practical, beginner-friendly approach involves safe and high-impact modifications you can perform with very few tools in under 30 minutes. You will also get to know how to determine the depth of defects, select the most appropriate finishing polish, and control hand technique to minimize swirls and fine scratches without damaging the clearcoat. Below you will find a low-risk, practical routine to restore the shine quickly and maintain the health of your paint between professional interventions.
What causes swirls and light scratches?
Swirls are produced by the abrasive particles or rough towels scraping across the clearcoat; the light swirls are usually produced by the aggressive drying, dirty towels or automated brushes. They both diffuse light and blur the vision. It would be time-saving and intolerance to overworking the paint to find out whether the mark is a surface swirl (something that can be polished using a polish) or a deeper scratch (possibly at the level of a professional leveling).
Compact kit for correction
- A few microfiber towels (different ones wash, polish, remove, final polish buff) plush.
- Hand use Microfiber foam applicator pads or soft foam pads.
- Delicate finishing polish (e.g., Meguiar M205, Sonax Perfect Finish, Optimum Poli-Seal)
- Protective quick detailer/spray sealant.
- 10–20% isopropyl alcohol (IPA) panel‑prep mix or dedicated panel prep spray
- Clay‑alternative spray (optional) and soft clay or mitt for trouble spots
- Small LED inspection light or phone flashlight
1: Smart inspection: find priority zones
Work in shade and inspect panels using indirect light or a flashlight at a low angle. Focus on the hood, roof, and driver door first, as they show defects the most. Mark problem areas mentally (or with small, low‑tack tape) so you only correct where it matters. This targeted approach saves time and reduces overall abrasion.
2: Clean only where necessary
Revisit your wash: spot‑clean any tar, tree sap, or stubborn grime. If you detect roughness, use a clay‑alternative spray and a soft pad on that small area only. Avoid full clay bar passes unless the paint feels gritty all over; we want to minimize contact while ensuring the polish won’t embed contaminants.
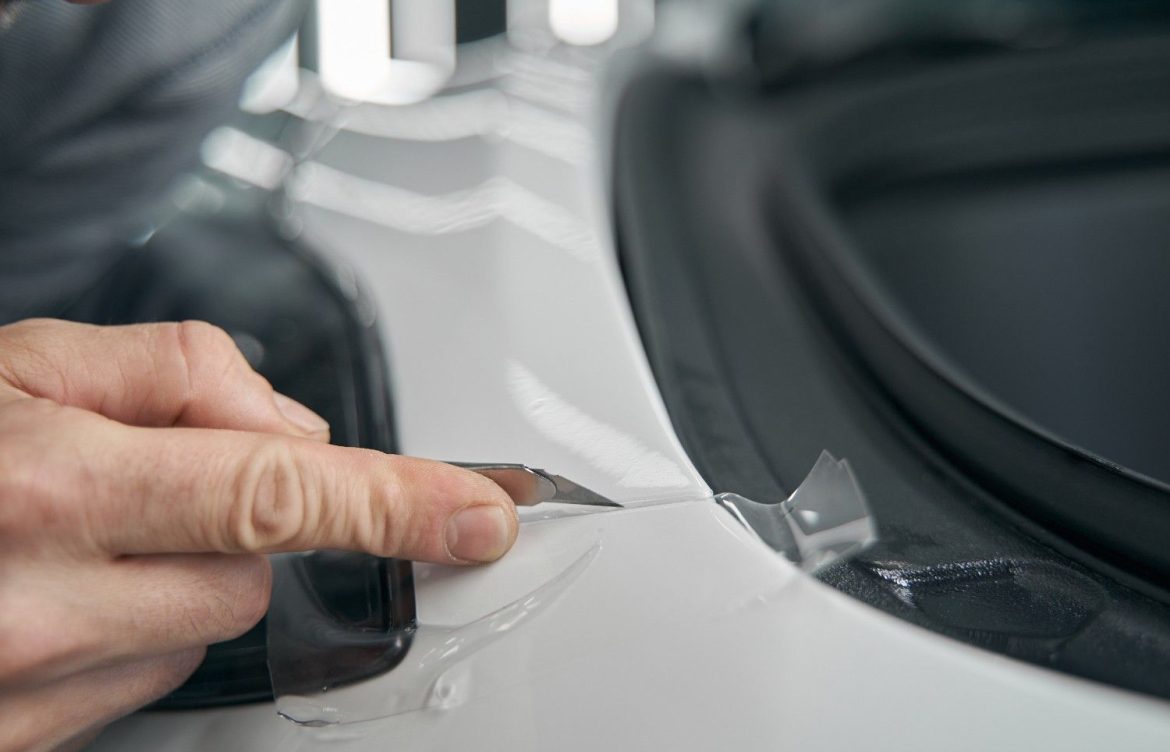
3: Reveal the real defect
Wipe all the wires, oils and residual on all the active panels with IPA mix. This will show actual swirl and scratches of light, hence you will not be wasting your time on cosmetic residues. The polish is also directed to act in a single form with clean panels and allows one to see the improvement in the right direction.
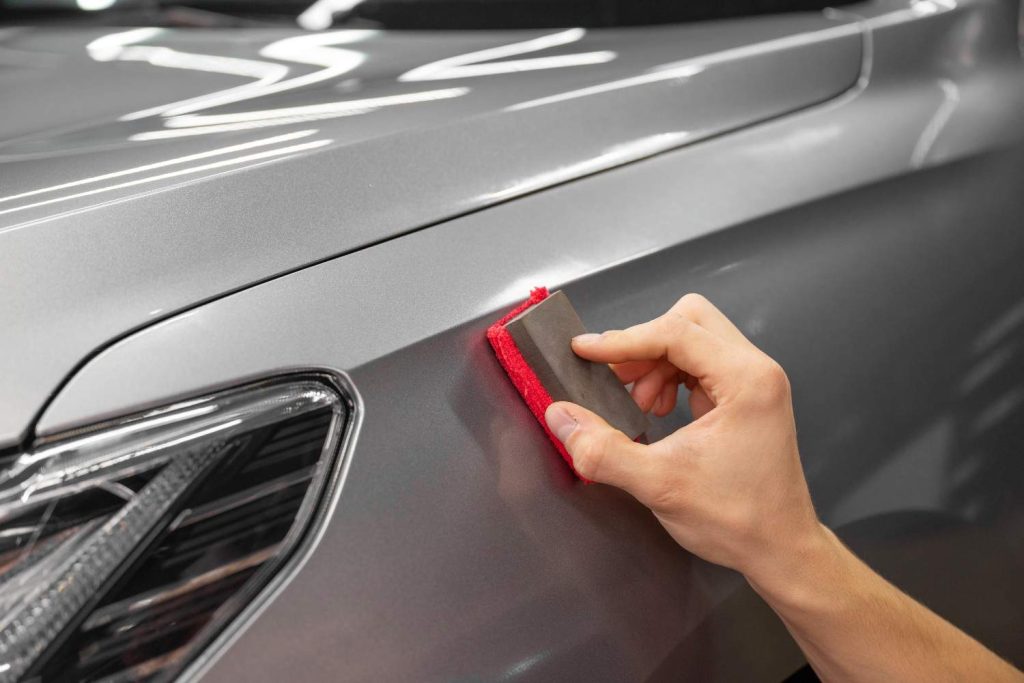
4: Controlled hand polishing
Take a pea-sized piece of finishing polish and get it on a foam applicator. The figure is executed in half-circles in a disjunctive circular and straight motion. A moderate pressure to light pressure; to the abrasives of the polish relinquish the work. Repeat 5-10 times, ensuring that buffed with clean microfiber so as to clear the residue. View under a refracted light. Doing should only be repeated on areas that are improving and not on those that they feel are good. Hanging over a hologram and overcutting, which can be caused by machines to the untrained hands, is reduced through hand polishing.
5: Target stubborn marks
Where even a faint swirl is showing on one spot, apply a little more polish, and make that spot in very small strokes. Even then, it still opposes, so do not press further, and neither use violent products, which must be marked as a correction in a later machine. Frequently, the small strokes used in the sections of the paint will cause small traces to become very hard to see when mixed with the others.
6: Protect and refine
Lock in the improvement with a spray sealant or polymer quick detailer. Apply one panel at a time and buff lightly with a plush microfiber. The protective layer enhances gloss, fills tiny imperfections optically, and helps the finish resist contamination between corrections.
Pro tips for hand‑only success
- Use fresh, folded microfiber towels for each polishing pass to avoid reintroducing scratches.
- Work small and inspect frequently; small corrections add up quickly.
- Keep product amounts modest; over‑application wastes product and leaves stubborn residue.
- If you prefer a slight machine assist, use a low‑speed DA with a soft pad for only 1–2 sections after mastering hand technique.
How to tell when a repair needs a machine
If a mark shows a white edge or you can catch it with a fingernail, it likely penetrates the clearcoat and needs leveling or professional multi‑stage correction. This hand routine treats surface swirls and thin, superficial scratches best.
On maintaining the finish between sessions
- Wash safely (two‑bucket method + grit guards).
- Use quick detailers to remove light contaminants without scrubbing.
- Wax or seal every 6–12 weeks, depending on exposure, to reduce polishing frequency.
Final thoughts
There is no need to spend a significant amount of money on expensive gear or risk the clearcoat to dramatically enhance the clarity of the paint after a wash by a focused, hand-driven routine that focuses on inspection, minimum contact, and proper choice of product. The technique reduces visible swirl patterns and shallow scratches in a short period of time, though the paint depth remains intact over the long term. Be simple with your kit, do it step by step and cover the results with a contemporary spray sealant. With time, frequent aggressive correction will be minimized as a result of regular safe washing and gentle finish polishing.